How to Create Personalized AI Portraits and Photo Sets with Your Own LoRA Model?
Creating a personalized LoRA (Low-Rank Adaptation) model allows you to enhance image generation by tailoring the neural network to specific characteristics, such as your own likeness. This guide will walk you through the process of training your own LoRA model using the FLUX neural network on the Fal.ai platform.
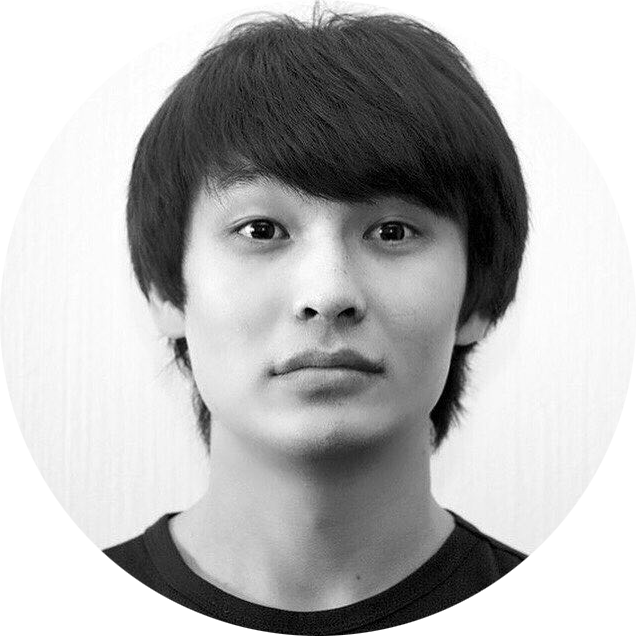
Step 1: Collecting Your Dataset
To achieve optimal results, gather a set of 15-20 high-quality photographs that meet the following criteria:
- Variety of Angles: Include front-facing, profile, and three-quarter views to capture different perspectives of your face.
- Diverse Expressions: Incorporate photos with various facial expressions to provide a comprehensive representation.
- Good Lighting: Ensure all images are well-lit to highlight facial features clearly.
- High Resolution: Aim for images with a resolution of at least 1024×1024 pixels to maintain detail.
Step 2: Preparing the Photographs
Before uploading, process your images as follows:
- Crop Appropriately: Adjust each photo so that your face occupies approximately 60-70% of the frame.
- Isolate the Subject: Avoid including other individuals in the photos to maintain focus on your features.
- Remove Distractions: Ensure the images are free from logos, text, or other extraneous elements.
- Neutral Backgrounds: Preferably use photos with simple, unobtrusive backgrounds to avoid visual clutter.
Step 3: Accessing Fal.ai
To utilize the Fal.ai platform:
- Register an Account: Visit Fal.ai and sign up, preferably using your GitHub credentials for a streamlined process.
- Add Funds: Training a LoRA model typically costs between $2 to $5.
Step 4: Training Your LoRA Model
Follow these steps to train your model:
- Initiate Training:
- Navigate to the "LoRA Training" section on Fal.ai.
- Upload your prepared photographs by selecting "Add Images."
- Choose a unique trigger word (e.g., "yourname_portrait") to identify your model.
- Click "Start" to begin the training process, which typically takes 5-10 minutes.
- You will receive a notification upon completion.
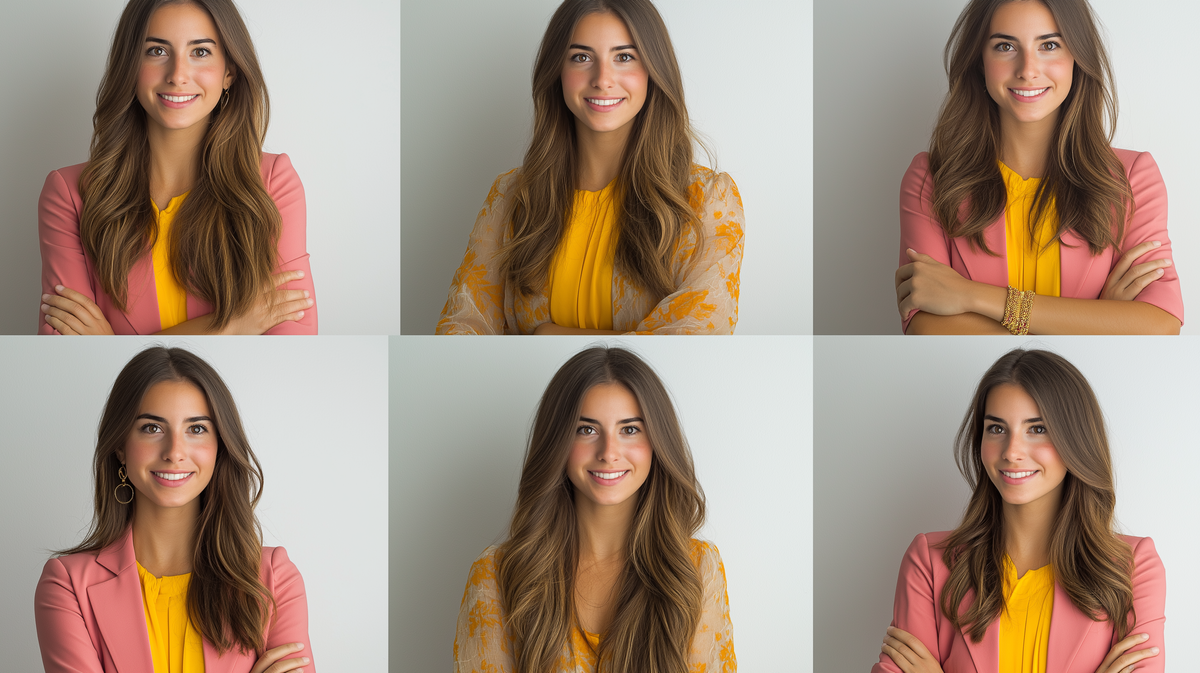
Step 5: Utilizing Your LoRA Model
To generate images with your trained model:
- Set Up Image Generation:
- Go to the image generation section on Fal.ai.
- Select the model "FLUX.1 [dev] with LoRAs."
- Locate and choose your LoRA model from the available options.
- Create a Prompt:
- Construct a descriptive prompt incorporating your trigger word. For example: "A portrait of a person in a park on a sunny day, yourname_portrait, realistic style."
- Adjust Parameters:
- Image Size: Select the desired format (e.g., square, vertical).
- Num Inference Steps: Typically set to 28 steps.
- Seed: Choose a specific seed for reproducibility or use a random setting for varied results.
- Guidance Scale (CFG): Set to 3.5 to balance adherence to the prompt and creativity.
- Sync Mode: Generally left disabled.
- Num Images: Specify the number of images to generate (1 to 4); note that each image incurs a cost.
- Enable Safety Checker: Keep enabled to ensure content appropriateness.
- Generate Images:
- Click "RUN" to commence image generation.
Crafting Effective Prompts
To maximize the quality of generated images:
- Language: Write prompts in English.
- Clarity and Brevity: Be concise yet descriptive.
- Specificity: Clearly define the subject and context.
- Use of Keywords: Incorporate terms that guide style and composition, such as "retro," "vintage," or "autumn landscape."
Prompt Structure:
- Subject: Begin with the main focus (e.g., "A fluffy green caterpillar with red stripes on its back").
- Details: Add context and specifics (e.g., "crawling on asphalt amidst a bustling street").
- Keywords: Include stylistic or contextual keywords to influence the image's mood and setting.
Special Perspective Keywords:
- Ground-level perspective: Captures the scene from a low angle, emphasizing the subject.
- First-person perspective: Provides a view as if seen through the subject's eyes, enhancing immersion.
- Worm’s-eye view: Looks up from below, conveying grandeur or scale.
- Bird’s-eye view: Looks down from above, offering a comprehensive overview.
By following these steps and guidelines, you can effectively train and utilize a personalized LoRA model to generate images that closely align with your envisioned aesthetics.